Batch 22 Hot Sauce – Entry 7 – Bottling Part 1
Now that the peppers have fermented a few months, it’s time to turn them into hot sauce

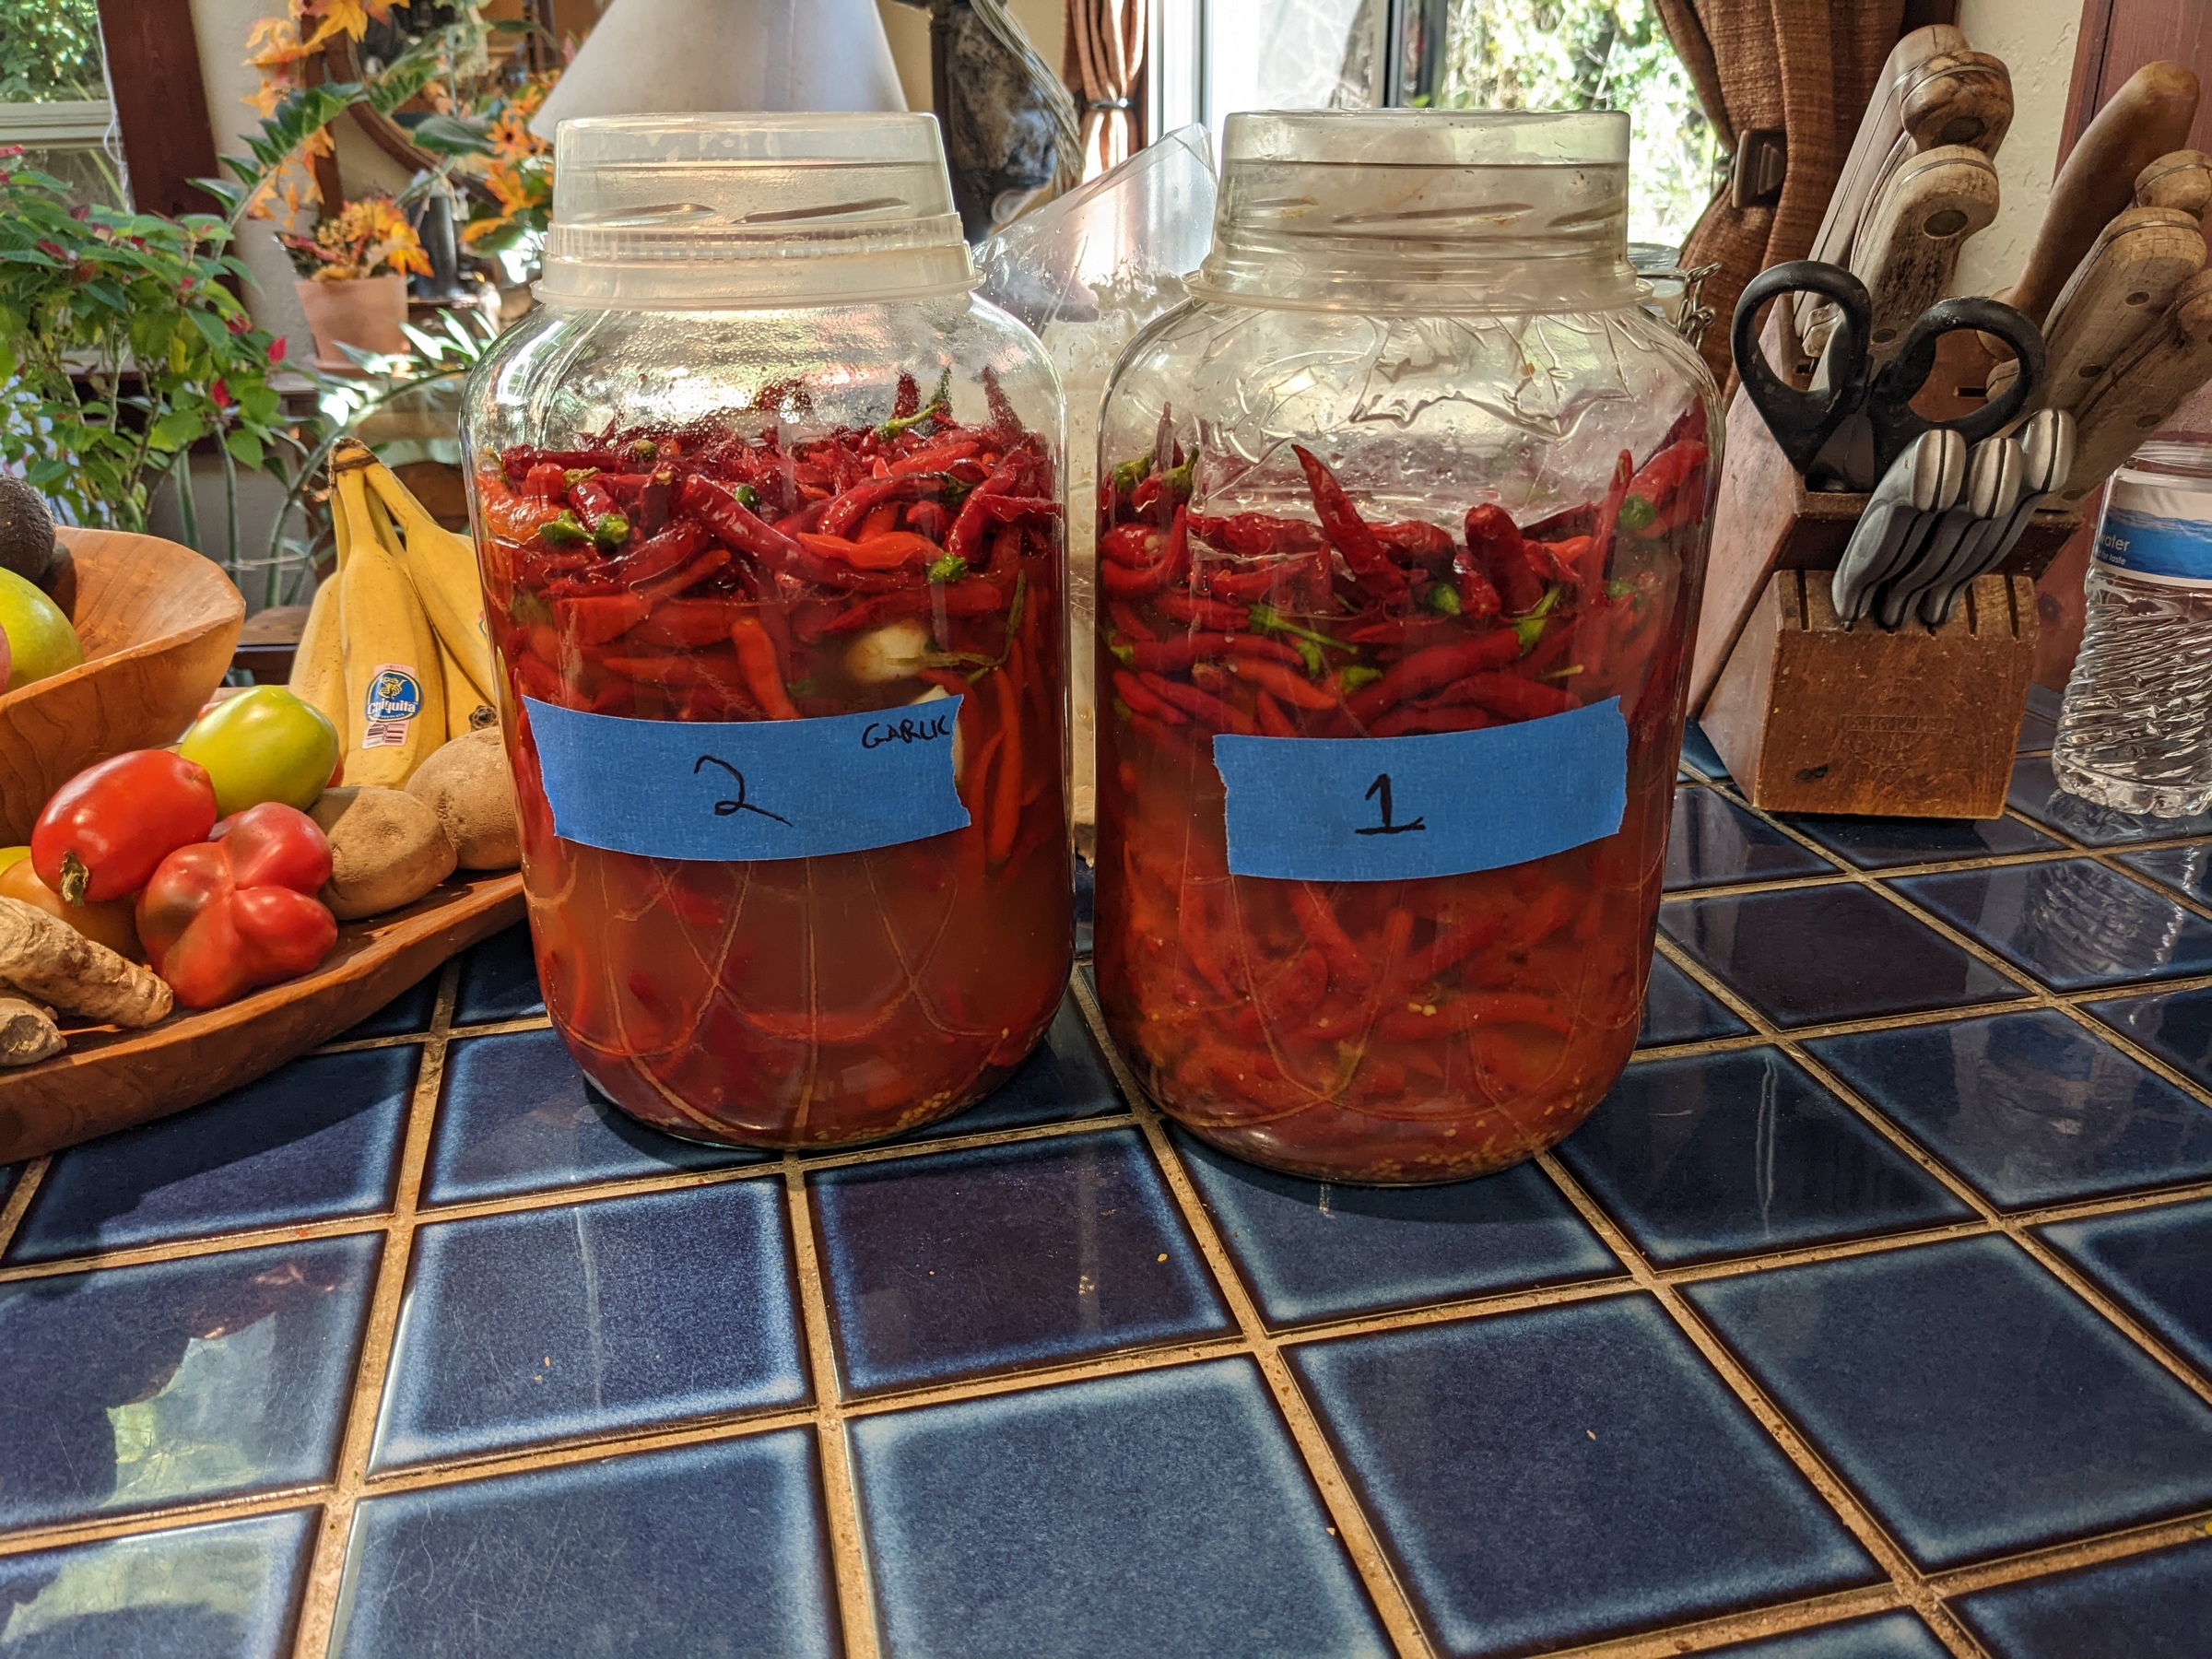
Bottled Batch 22 (Garlic) before aging
I started Batch 22 of our fermented hot sauce way back on August 8, 2022.
Since beginning the fermentation, it’s:
- Had six additions of fresh peppers
- Been split into two versions: one with just peppers, one with peppers and garlic
- Soaked toasted oak in the pepper brine for two months
- Sent off to ferment in the cool nether regions of the garage until today
All-in-all, that’s a total of 6 months and 7 days(!)
It’s long enough that I think whatever flavors were going to come from the fermentation have done so. Plus, neither fermentation jar shows much sign of activity (e.g, the peppers dissolving, bubbles in the brine, lacto mold forming, etc.), so I might as well get the hot pepper sauce racked and bottled.
Plus, with four or so additional weeks of cold(ish) weather, the sauce will have a chance to condition in the bottle. That usually knocks down any sharp or off flavors and lets the complexity of the aged hot sauce come through.

Batch 22 Hot Sauce (Garlic) after 2 months of fermenting
I’m starting with the garlic pepper batch because its level has dropped by about 1/3rd since the split back on December 7.
That indicates that the lacto-yeasts have been hard at work converting the sugars in the peppers into fiery, flavorful, fermented liquid, leaving the spent seeds and limps skins to sink to the bottom of the vessel.
Step 1: Dump the pepper brine into a pot
First thing is to dump the pepper brine out of the fermenter and into a pot large enough to hold twice the liquid.
Next add distilled white vinegar at a ratio of 1/2 cup to each full cup of fermented pepper brine. In the case of this hot sauce, there’s about half a gallon (two quarts) of brine, so I need to add one quart of vinegar.
Then put the pot on low heat and let it come to a slow simmer. This stops the fermentation and shelf-stabilizes the hot sauce.


Oh, and remove the oak chunks from the brine before it starts simmering.

Removing the toasted oak that’s been soaking in the pepper brine
I’ve learned the hard way that if you don’t take them out up front, the oak will darken the sauce which makes it look sort of brick-brown instead of chili red.
It’s not dangerous or anything, it’s just not as cosmetically pleasing as that bright, fresh red color.
I like to set the oak aside for later. After those wood pieces dry for a bit, they’re great for adding flavor in the smoker.
Step 2: Simmer for a couple hours

The hot pepper mash after simmering for 2 hours
The purpose of simmering is twofold — 1) to help break down the remaining (semi) solid peppers and extract any flavor in them, and 2) to reduce the overall water content.
Depending on the size of the batch it can take anywhere from 30 minutes to 4 hours.
The trick is to keep the heat low and slow. Heat it too fast and the water comes off too quickly, so the peppers cook instead of seeping their flavors back into the sauce. I’ve found a medium low setting where you can see steam rising but there’s no risk of the mix coming to a boil works best.
Stir frequently to help the peppers break down in the liquid.
When the peppers get to a point where they fall apart easily when stirred, mix everything to make a sort of watery “pepper mash.” (Peppers that don’t fall apart can be hit with a quick whirl from a stick blender.)
Step 3: Strain out the solids
I don’t like skins and seeds in my hot pepper sauce, so I use a strainer and another pot to separate the remaining solids from the pepper liquid.


Dumping the hot pepper mash into the strainer, I use a slotted spoon to squish it down, squeezing out the liquid hot sauce into the pot below.

The pepper mash and seeds removed
The spent pepper seeds and skins get put aside because we can use them in other foods.
Step 4: Bottle the Hot Sauce
Check the liquid hot sauce to see if it’s had enough water reduced to bottle.

The pepper sauce after the solids were removed
The easiest way to tell is to let the liquid sit for a couple minutes off the heat. If the water separates from the solids (e.g, it makes a thin layer floating on top of the denser pepper liquid) when it stands still, some water still needs to be simmered off.
If that’s the case, keep simmering. You’ll know the hot sauce is just about the right consistency when bubbles made with a spoon don’t pop immediately.
Once the hot sauce is ready, ladle it into clean, hot jars.

Bottling Batch 22 (Garlic) Hot Pepper Sauce
I use the 5 ounce “swoozy” bottles because they’re cheap and come with a shaker cap that prevents you from accidentally pouring half the bottle on your food. With a funnel and 6-ounce ladle, filling a dozen bottles only takes a few minutes.
Step 5: Let the hot sauce rest
While it’s tempting to want to try the fresh hot sauce right away, experience has taught me that it’s actually better when it’s been allowed to rest for a few weeks first.
When it’s new, the vinegar in the sauce is sharper and more acidic, which can distract from the subtler flavors produced during the hot sauce’s long fermentation. Allowed to rest, the vinegar flavors back down, blend with the fermented peppers and produce a whole range of taste sensations that’d otherwise be overwhelmed.
Bottled Batch 22 (Garlic) before aging
For my part, based on a couple of early tastes while simmering the sauce, I think this one is going to have a lot of garlicy-sweet pepper flavors and aromas up front followed by some spiciness (as is “spice” not “heat”), and a finish that’s a flash of heat followed by a warming sensation.
Then again, it could taste like grass clippings and old tennis shoe. Only time will tell.
I’ll pop a bottle open in a few weeks and let you know.


